

How to: Install SPCAF |
Install SPCAF
Note: Before the installation, you have to close all running instances of Visual Studio. The setup cannot proceed if Visual Studio is running. Also, make sure that your system meets the system requirements.
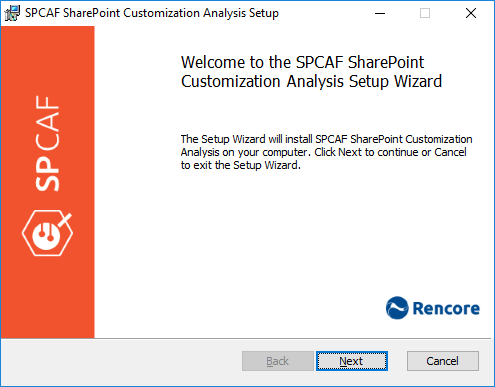
Run setup application (e.g. "SPCAF.Setup.msi") and follow the instructions.
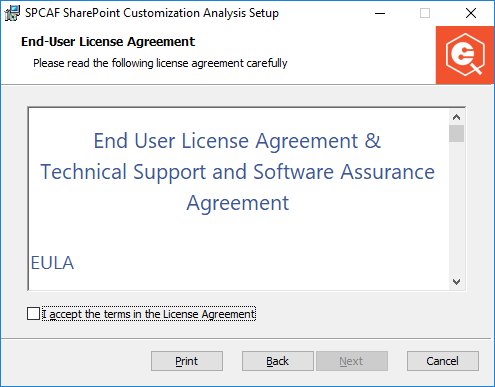
Accept the End User License Agreement (EULA)
In order to proceed you need to accept the end user license agreement.
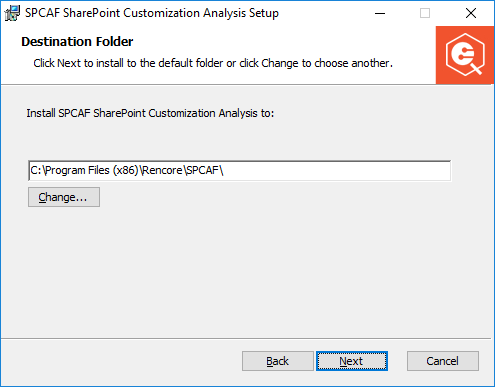
Enter Installation Path
By default SPCAF will try to install to "C:\Program Files(x86)\Rencore\SPCAF\" if you want to use a different location enter it in the field or click the the [Change...] button and select your desired folder.
Choose Setup Type
SPCAF has three types of installations that can be chosen from depending on your needs.
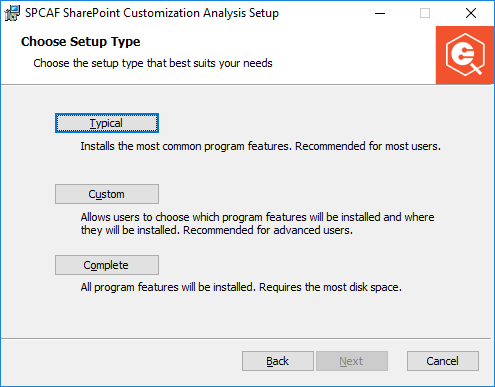
- Typical
- Installs the most common program features. Which is recommended for most users.
- Custom
- Allows the users to choose which program features installed. This option is recommend for advanced users. See "Selected Preferred Components" below for more details.
- Complete
- All program features will be installed. This option requires more disk space.
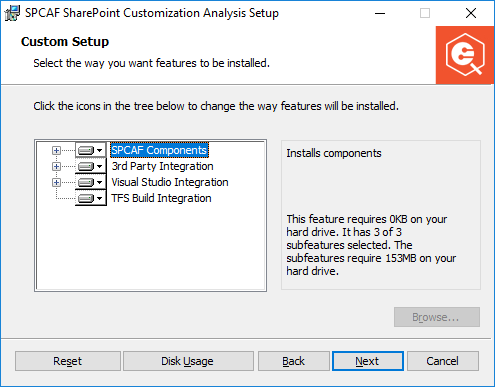
Select Preferred Components
If either Typical or Complete was selected in the previous stage you can skip this section, if Custom was selected you need to decide which components of SPCAF you want to install.
Note: Not all 3rd party analyzer integration is activated by default as some like SPDisposeCheck or JSHint are now obsolete because SPCAF has its own implementation of these rules.
The TFS Team Build integration works only with an SPCAF Quality Gate license or the trial key.
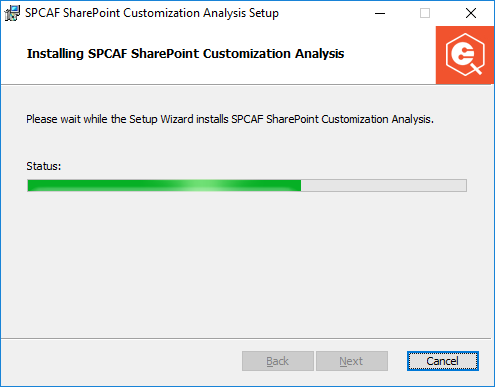
Installation
The installer will now install the type selected, create entries in the start menu and register SPCAF in Visual Studio.
Finish
After finishing the installation you can start Visual Studio and can run SPCAF for your SharePoint projects or alternatively execute the SPCAF standalone application.
