Guide
Connect an Azure Marketplace Subscription
In order to stay in control of Microsoft 365 with the Rencore Governance Azure Marketplace App, you will first need to sign in.
-
On search, enter “Rencore Governance”.
-
Click on “Rencore Governance - Automate Microsoft 365 governance”.
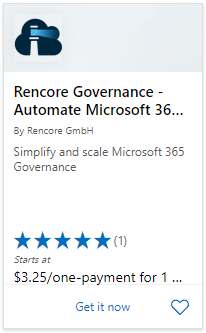
Here you will be able to see an overview of the tool, view the pricing plans, and see recent reviews.
-
Click “Get Now”.
-
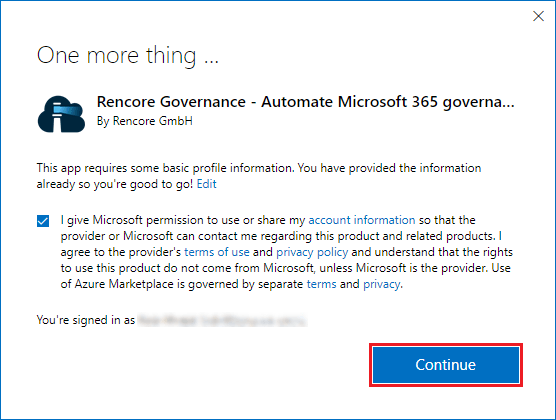
Give consent to share some basic profile information and click “Continue”.
-
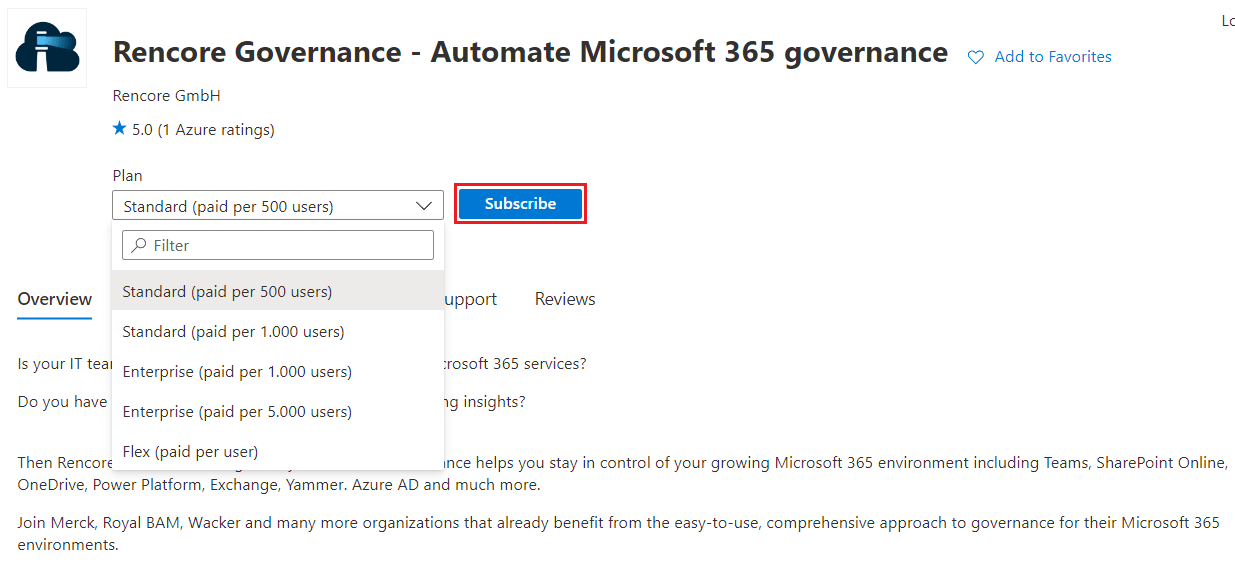
Once redirected to the Azure Portal where you can view the offering of the tool.
- Select the desired Plan (For a trial select Flex).
- Click “Subscribe”.
-
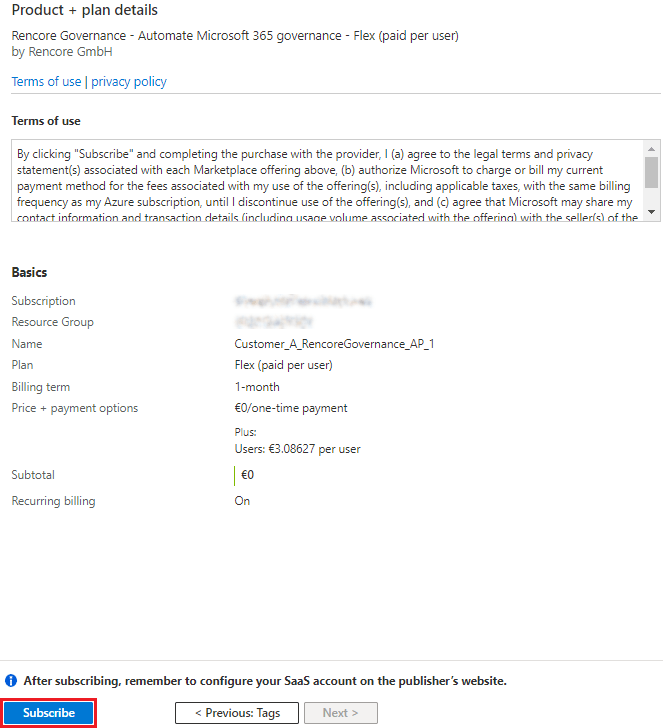
Complete the Project Details:
- Select the desired Subscription.
- Select the desired Resource Group in the selected subscription.
- Enter a name for SaaS details (e.g. Customer_A_RencoreGovernance_AP_1).
- Check you have selected the correct plan, if not click “Change Plan” to choose another.
- Make sure “Recurring billing” is selected to “On” for a continued subscription.
- Click “Review + subscribe” at the bottom of the page.
- You get a summary of the details and the plan selected.
- Click “Subscribe”.
-
On the “Subscription Progress” wait until the subscription is provisioned and click on “Configure account now”.
- At this point, the Rencore Governance is checking all DataCenters to see if there is a Rencore Subscription connected to the Azure Subscription.
-
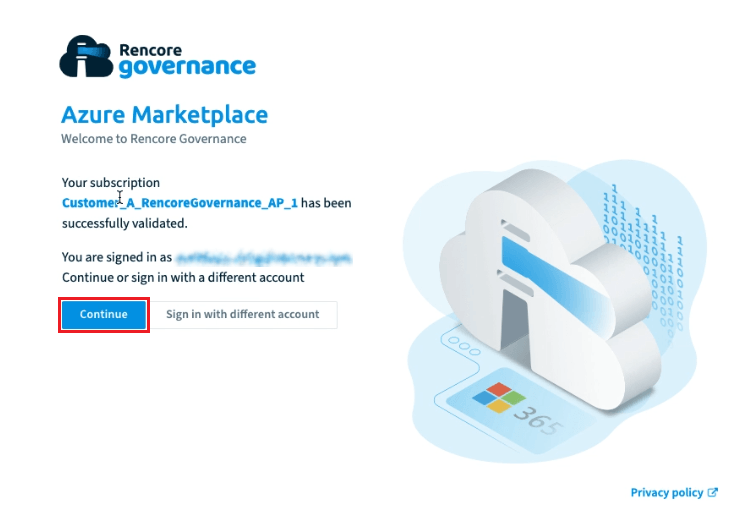
Once the subscription confirmation appears, click “Continue” to sign in with the specified account or sign in with another Microsoft Work account.
-
On the next screen, either select an existing Rencore Governance Workspace (if a trial has been used) by clicking “Assign Subscription” or click “Create new workspace”. For details on how to create a Workspace, click here.