Reference
Azure Consent
Authentication for Azure in Rencore Governance operates differently from other services. Instead of an automated setup, the Entra ID application must be manually created within the specific tenant designated for scanning. This manual process ensures proper integration and allows Rencore Governance to access the necessary resources securely.
Enabling the Service
- Click on “Settings” and then”Environment Settings”.
- Click on “Manage Services”.
- Toggle the selector for “Azure”
- Click “Save”.
Consenting to the service.
Before you can provide consent for Azure, you will need to manually create an Entra ID application as detailed in the Knowledge base article: Azure App AD Creation
Once you have set up the app and have the required details, you will need to:
-
Click on “Settings” and then “Environment Settings”.
-
On “General Settings_”, click the ellipses menu_ ([…]) and select “Manage consent”.
-
Click “Give Consent” on “Azure”.

-
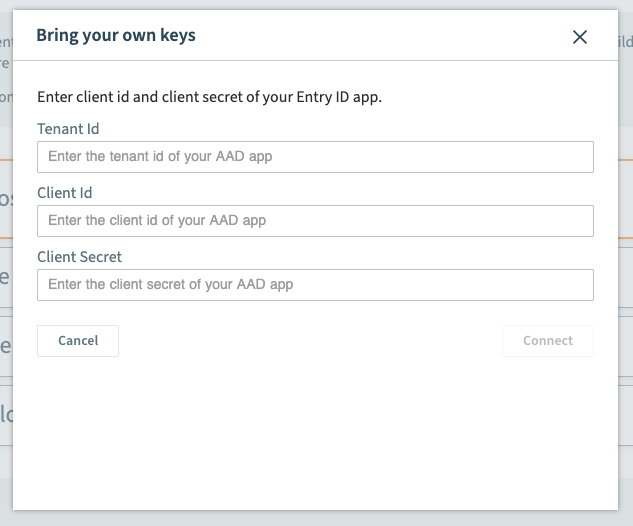
In the new Dialogue, enter the following details:
- Tenant Id: Enter the Directory (tenant) ID.
- Client Id: Enter the application client’s ID.
- Client Secret: Enter the Value that you copied when creating the Client Secret.
-
Click “Connect”.
-
Providing all settings are correct, a confirmation dialog will state that the connection was successful.
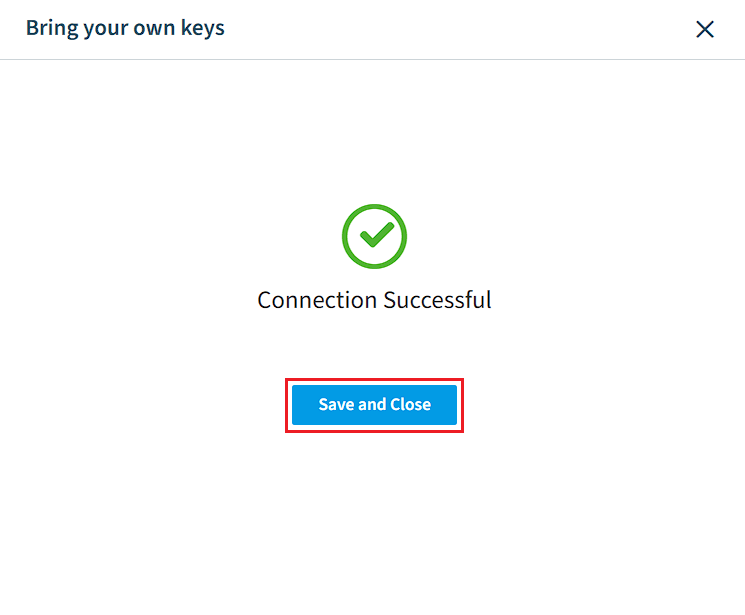
- Click “Save and Close”