Guide
Configure a Teams Notification for Checks
To create a Teams Notification from Rencore Governance, you will need to first create a Teams Webhook and then create an Automation to use the webhook.
Creating a Teams Webhook
-
Open the Microsoft Teams client.
-
Navigate to the team and channel where you want to send this notification.
-
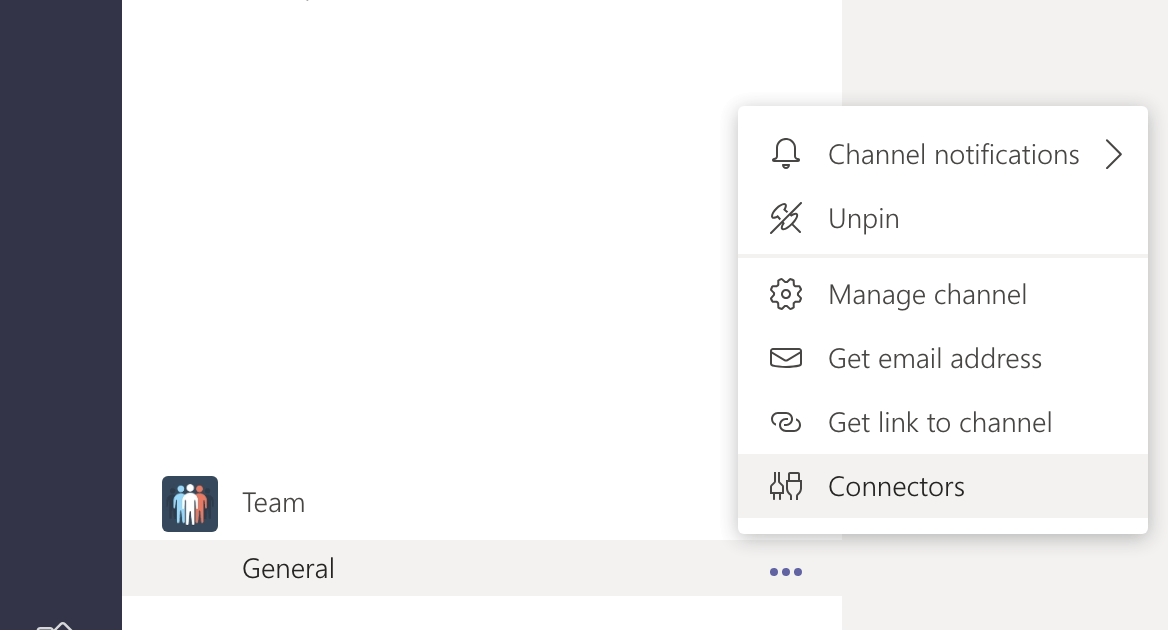
Click on the action menu on the team and click “Connectors” in the channel context menu.
-
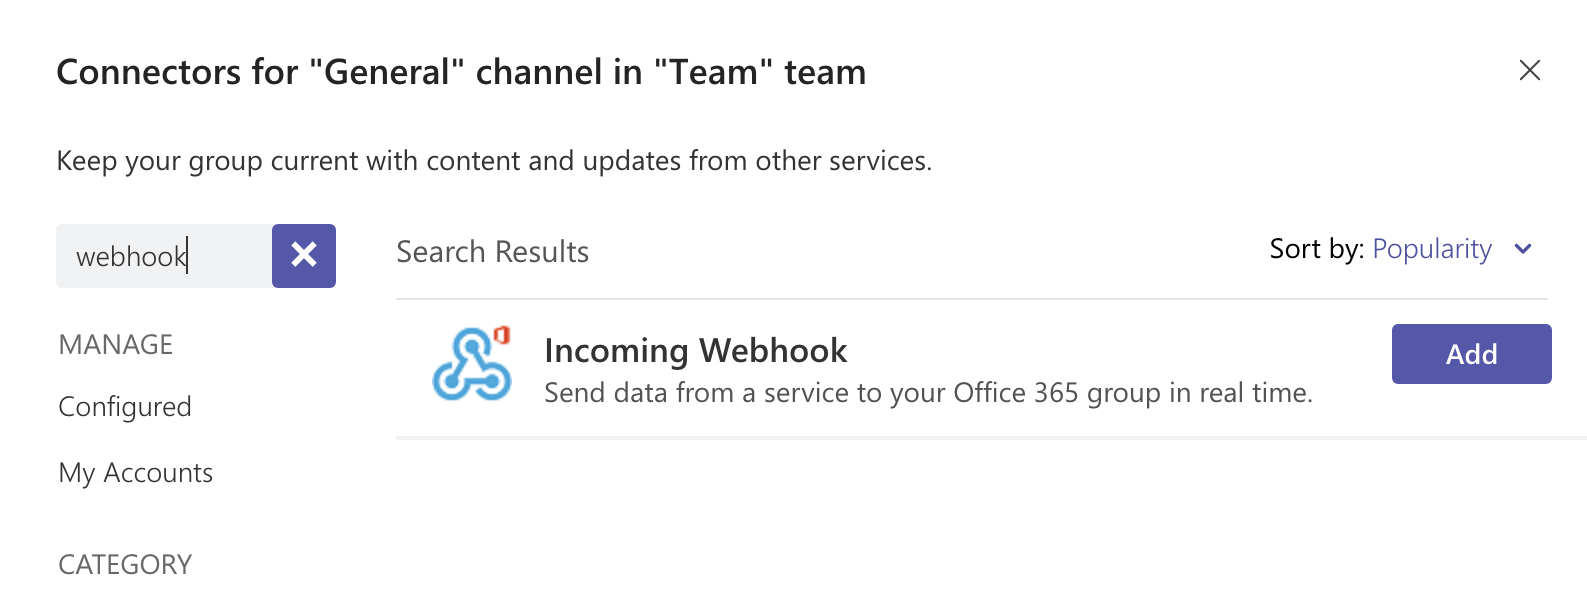
Search for “Webhook”.
-
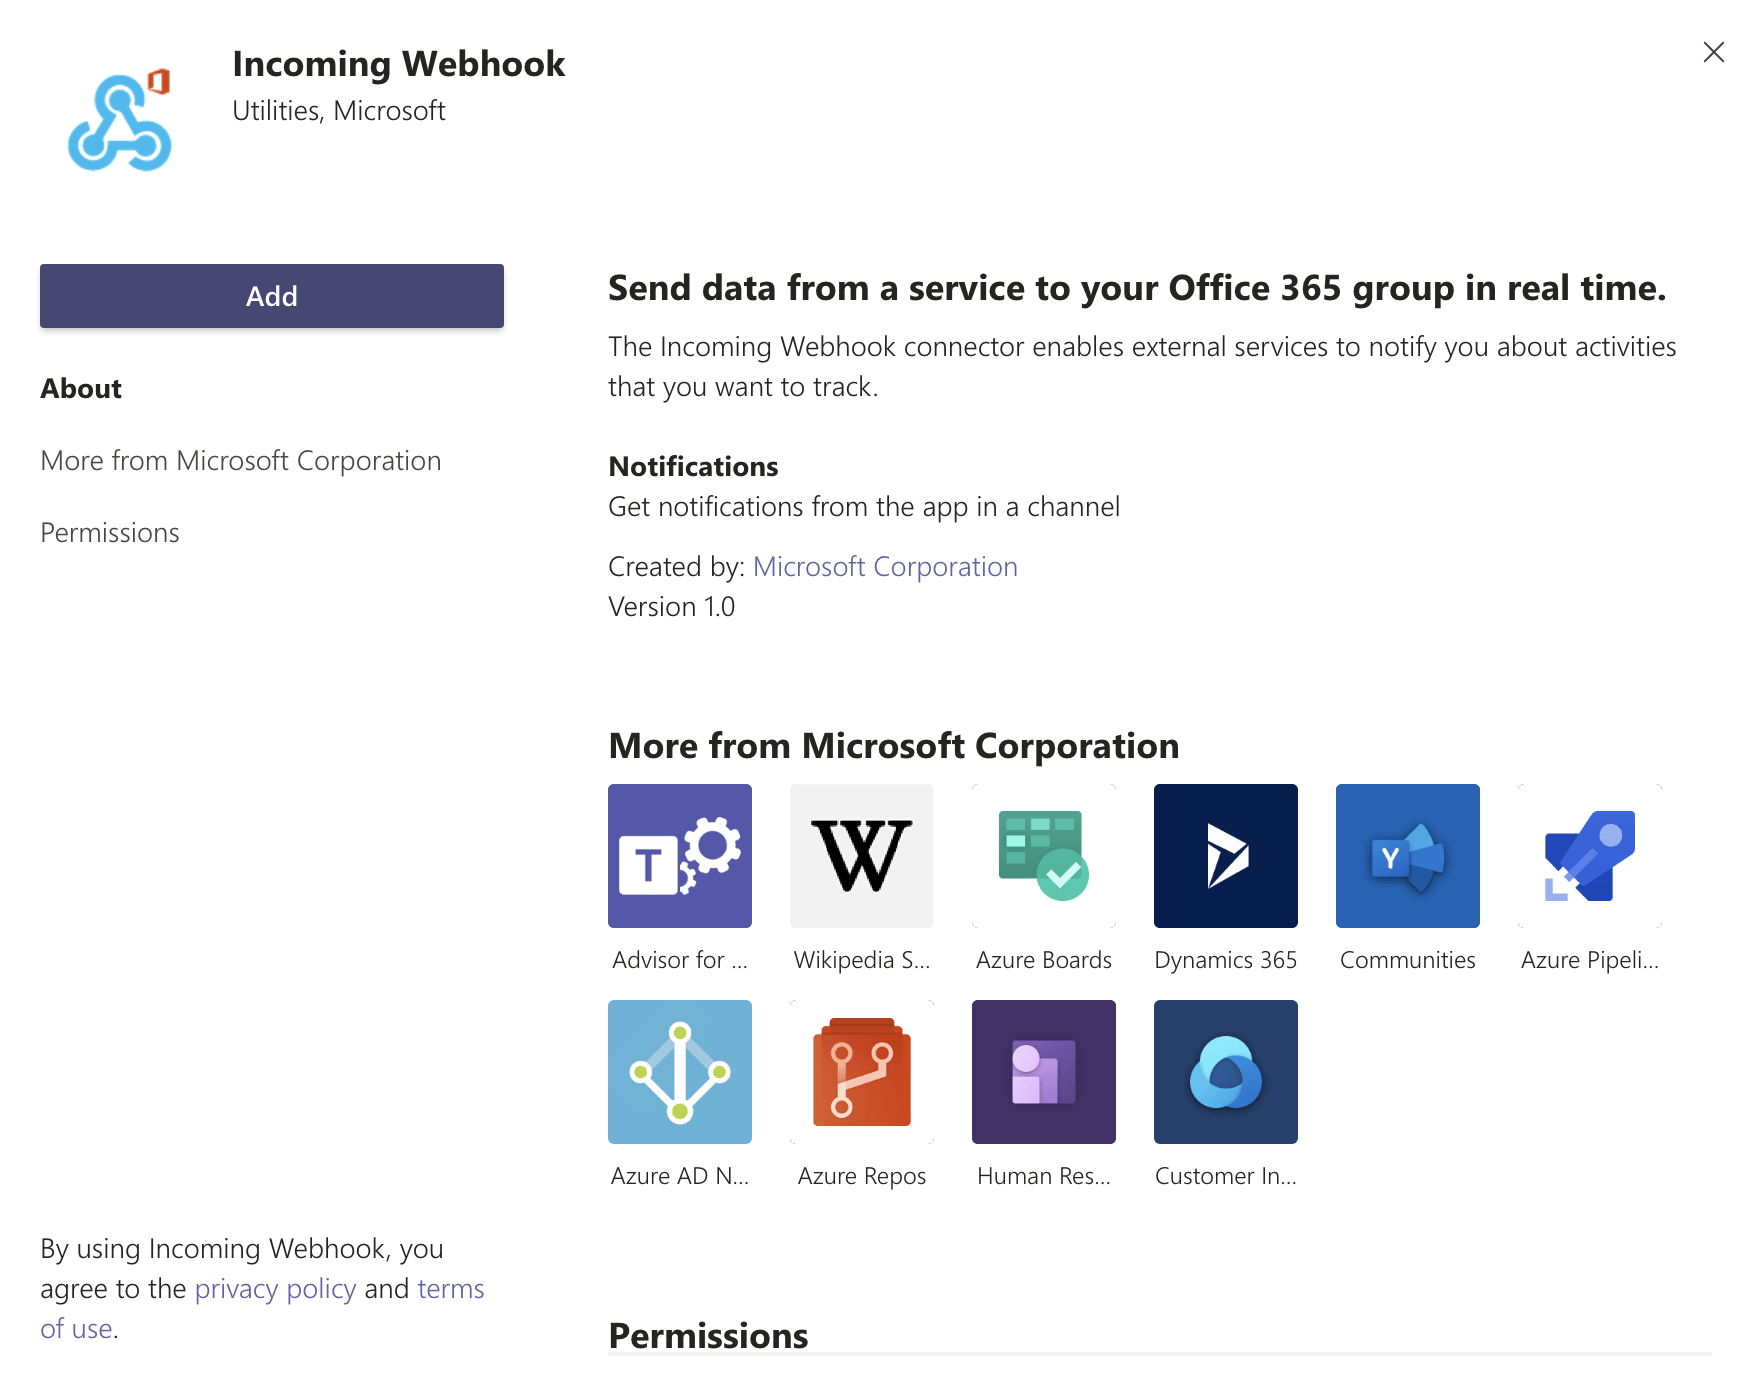
Click the “Add” button next to the “Incoming Webhook” connector and “Add” on the connector detail dialog.
-
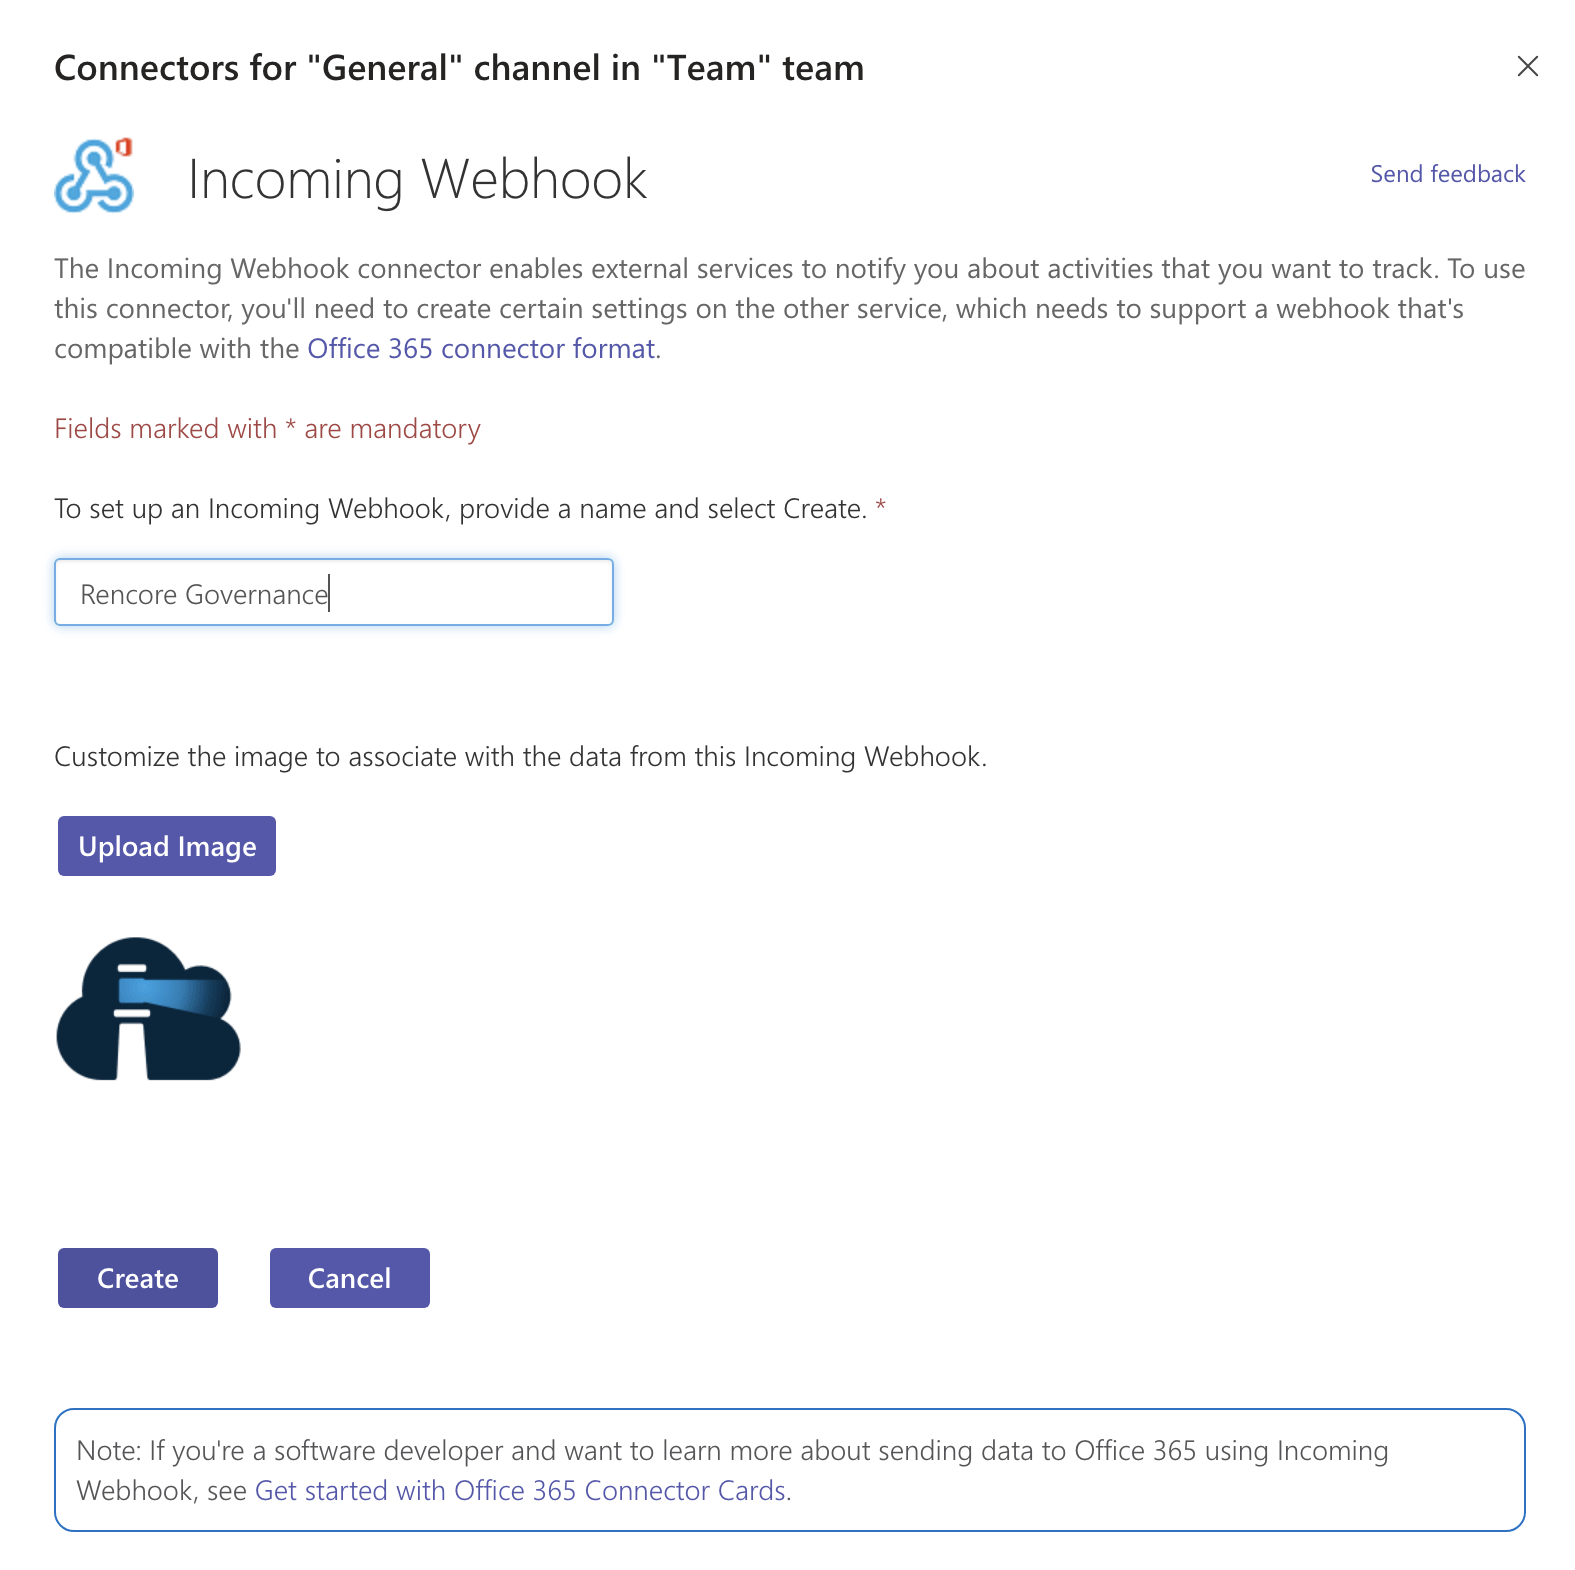
Provide a name and upload an image ([Download Rencore Governance logo here]).
-
Click the “Create” button.
-
Click the “Copy Icon” button next to the webhook URL field.

-
Click “Done”.
Creating a Teams Notification
-
Click on “Automation” on the Nav Panel
-
Click on the “Add Automation” button on the right-hand side.
-
On the “Automation Template Library”, you can create an automation based on a Library template or create custom automation.
- Click “Create Custom Automation”.
-
Set the desired trigger (e.g. on policy violation) and settings for the trigger (e.g. Disabled user accounts with assigned licenses).
- Click “Next” when done.
-
Click ”+ ” to add an action.
-
In the search, enter “Send message to a Static Teams channel”.
-
Click on “Send message to a Static Teams channel”.
-
Paste the copied URL into the “_Webhook UR_L” field.
-
Enter your Name in “Sender”.
-
Enter the message that you want to be posted to the channel in the “Body” field.
<div class="sd-callout" data-callout-type="tip"><p><strong>For Example:</strong> Quick Reminder, that <strong>{{User.DisplayName}}/{{User.UserEmail}}</strong> currently still has Licenses assigned to them, although they have been deleted. Please look into this and remove it where applicable.</p></div>

1. Click "Test Action" to test the notification.- Click “Save”.
- Click “Next” at the top of the page.
- Provide a “Title”, “Description”, “Category”, and “Icon” for the Automation.
- Click “Done”.
1.  To enable the Automation, click "Save and enable".
2.  To save the Automation but not enable it straight away, click "Save as draft".